
As an Amazon Associate, Fox & Nook earns from qualifying purchases. This article about slow-pour coffee at home contains affiliate links. If you choose to purchase through them, Fox & Nook earns a commission at no additional cost to you. We only reference products or services we believe align with intentional, functional living. Learn more about our Affiliate Policy.
⬛ Quick Overview of how to brew pour over coffee
What you will find in this guide:
✓ What slow-pour coffee actually is and why it produces a better cup
✓ The difference between the main pour-over methods (V60, Chemex, and beyond)
✓ The essential tools worth investing in, and the ones you genuinely do not need
→ 1. A Pour-Over Cone or Carafe
→ 2. A Gooseneck Kettle
→ 3. A Manual Burr Grinder
→ 4. A Kitchen Scale with a Timer
→ 5. Quality Coffee Beans and a Storage Canister
✓ A step-by-step guide to brewing your first pour-over at home
✓ How to build a simple, calm coffee station that makes the whole ritual feel intentional
✓ The slow-pour coffee ritual for intentional living
✓ Final thoughts on slow-pour coffee
How to Master Slow-Pour Coffee at Home (Without Complicated Gadgets)
Introduction
Being able to brew your own slow-pour coffee at home is one of those rare pleasures that costs far less than most people assume and gives back far more than the cup itself.
If you have ever stood in a specialty coffee shop watching a barista pour hot water in slow, deliberate circles over a glass carafe and thought I wish I could do that at home, the good news is that you absolutely can.
Without a four-hundred-euro espresso machine.
Without a barista certificate. And without turning your morning into a science experiment.
What you do need is a small handful of the right tools, a little patience, and a willingness to slow down for five minutes while your coffee brews. That last part, it turns out, is the part most people end up enjoying most.
This guide covers everything you need to know to get started, from understanding what pour-over coffee actually is, to choosing the right equipment for your kitchen, to building the kind of calm morning coffee ritual that makes getting out of bed feel genuinely worthwhile.
What Is Slow-Pour Coffee?
(..and Why Does It Taste Different?)
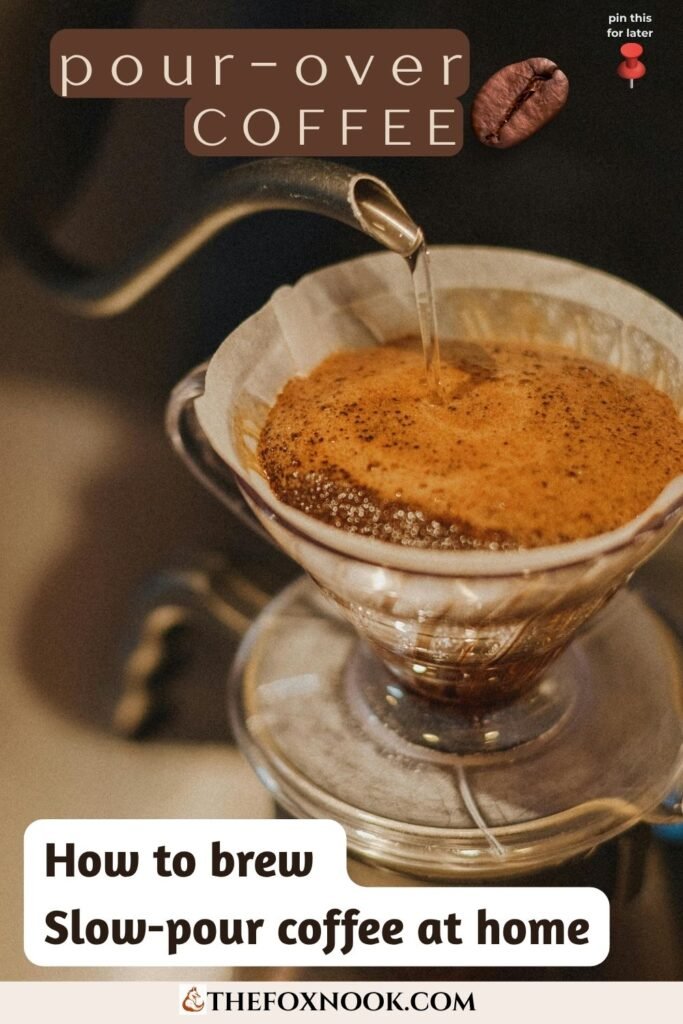
Slow-pour coffee, most commonly referred to as pour-over coffee, is a manual brewing method in which hot water is poured slowly and deliberately over ground coffee held in a filter. Gravity pulls the water through the grounds, extracting flavour as it goes, and the finished coffee drips into a cup or carafe below.
The process itself is not new. It has been around in various forms since the early twentieth century, and it remains one of the most respected brewing methods among coffee professionals worldwide. What has changed in recent years is that the audience for pour-over has moved well beyond specialty coffee circles and into everyday home kitchens, largely because the results are genuinely difficult to replicate with an automated machine.
Here is why slow-pour coffee tastes different, and consistently better than standard drip coffee:
Control over every variable. With pour-over, you control water temperature, pour speed, the coffee-to-water ratio, and bloom time. Each of these factors affects flavour, and having full control over all of them means you can produce a consistently excellent cup once you understand the basics.
The bloom. This is the first small pour, just enough water to wet the grounds and allow them to release trapped carbon dioxide. You will see the coffee swell and bubble gently for about thirty seconds. Skipping this step is one of the main reasons home-brewed coffee tastes flat. Pour-over makes the bloom a natural, unavoidable part of the process.
A cleaner, brighter cup. The paper or metal filter used in pour-over removes most of the oils and fine particles that pass through a French press or espresso machine. The result is a cleaner, clearer cup with more defined flavour notes, particularly noticeable with single-origin or lightly roasted beans.
Presence as part of the process. This one is harder to quantify, but consistently reported. The act of standing quietly, pouring slowly, watching the water move through the grounds has a meditative quality that most people find genuinely grounding. The coffee is better. The making of it is also better.
Pour-Over Coffee vs. French Press vs. Espresso: A Calm Comparison
Before going further, it is worth placing pour-over in context alongside the other home brewing methods you may already be familiar with or considering.
Pour-Over
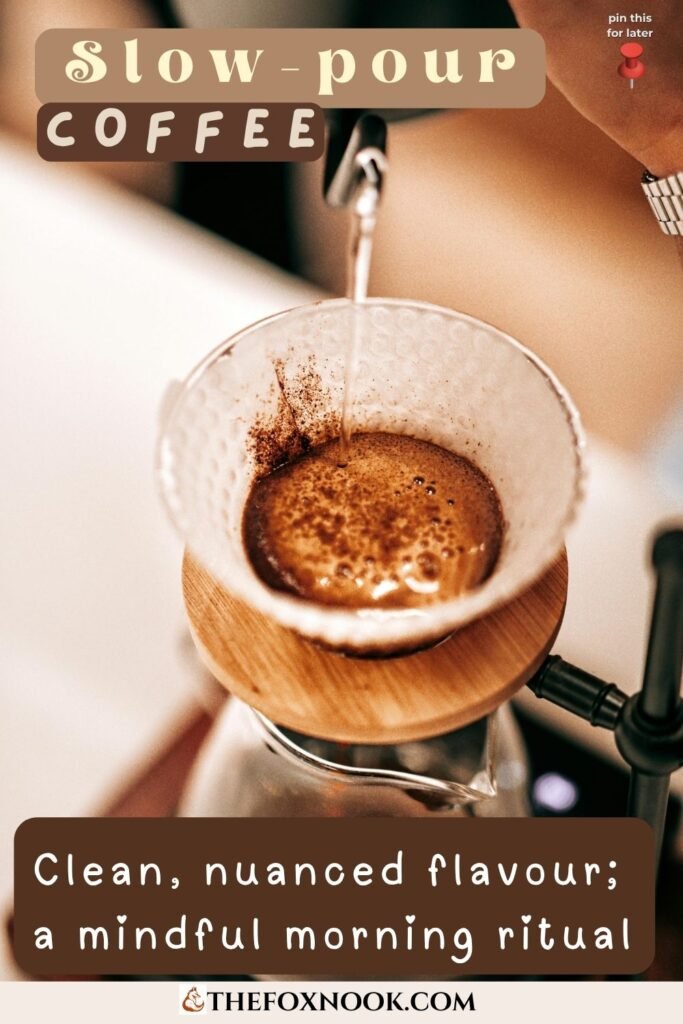
Best for: Clean, nuanced flavour; a mindful morning ritual; people who enjoy the process as much as the result.
Effort level: Moderate; requires attention but not skill, once you know the basics.
Equipment cost: Low to mid-range.
A quality pour-over cone costs between $15 and $50. The carafe, if separate, adds another $20–$40.
The trade-off: It takes four to five minutes of active attention. If your mornings are entirely on autopilot, this may initially feel like a lot.
French Press
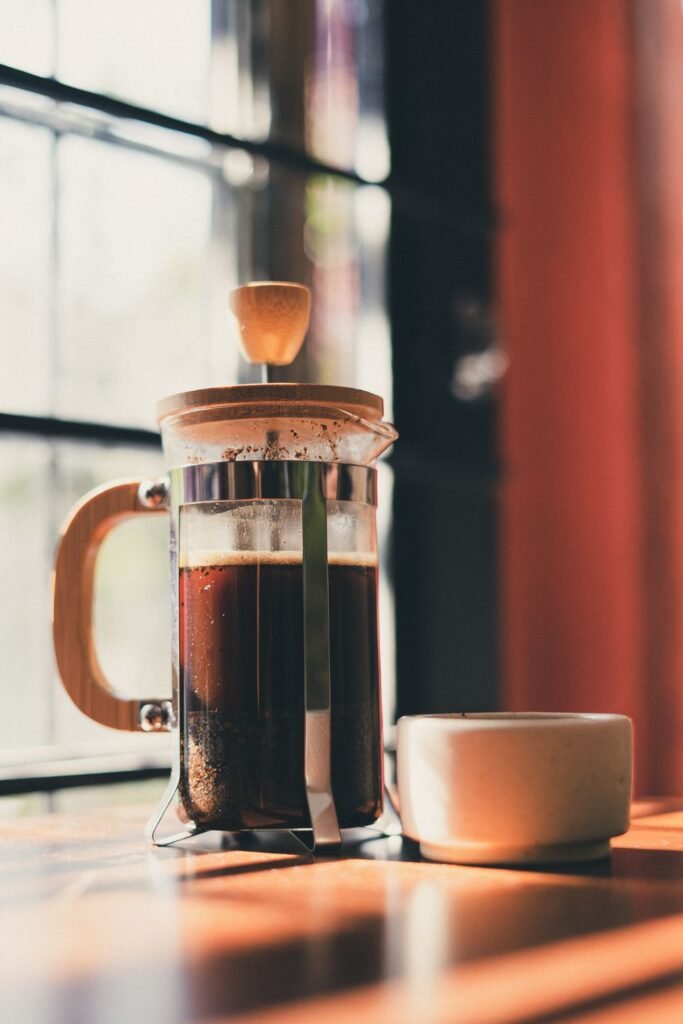
Best for: Full-bodied, rich coffee; simplicity; people who prefer a heavier, bolder cup.
Effort level: Low: add grounds, add water, wait, press, pour.
Equipment cost: Very low. A decent French press costs between $15 and $30.
The trade-off: The filter is metal, which allows more oils and sediment through. The result is a richer but less clean cup and one that continues to extract (and can become bitter) if left in the press too long.
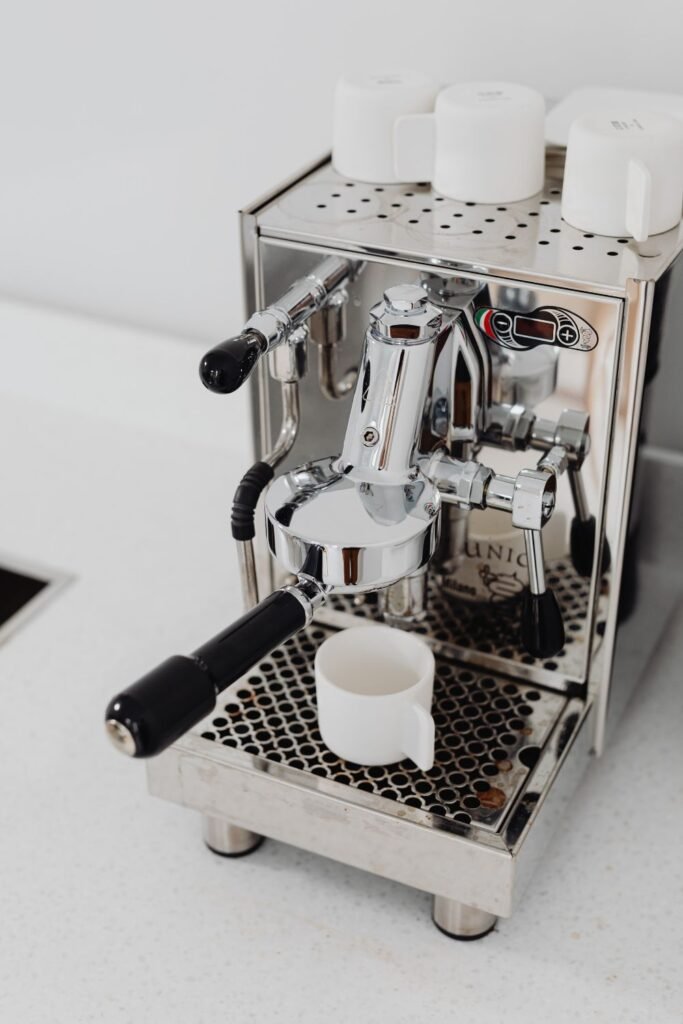
Espresso Machine
Best for: Espresso-based drinks: lattes, cappuccinos, flat whites.
Effort level: High; requires learning, calibration, and regular cleaning.
Equipment cost: Significant. A genuinely good home espresso machine starts at $300–$400 and rises quickly. A grinder capable of espresso-level precision adds further cost.
The trade-off: Espresso is a different drink entirely, not simply stronger coffee. If you want lattes and cappuccinos, a machine makes sense. If you want excellent black coffee, pour-over or French press will outperform a mid-range espresso machine at a fraction of the cost.
🔔 The honest summary:
Pour-over coffee sits in the sweet spot for most home coffee enthusiasts, offering better results than a French press, a fraction of the cost and complexity of espresso, and a brewing process that complements rather than competes with a calm morning.
The Essential Tools for Slow-Pour Coffee at Home
This section covers what you actually need and nothing more. The pour-over world has no shortage of beautiful, expensive accessories. Most of them are optional. The following five are not.
1. A Pour-Over Cone or Carafe
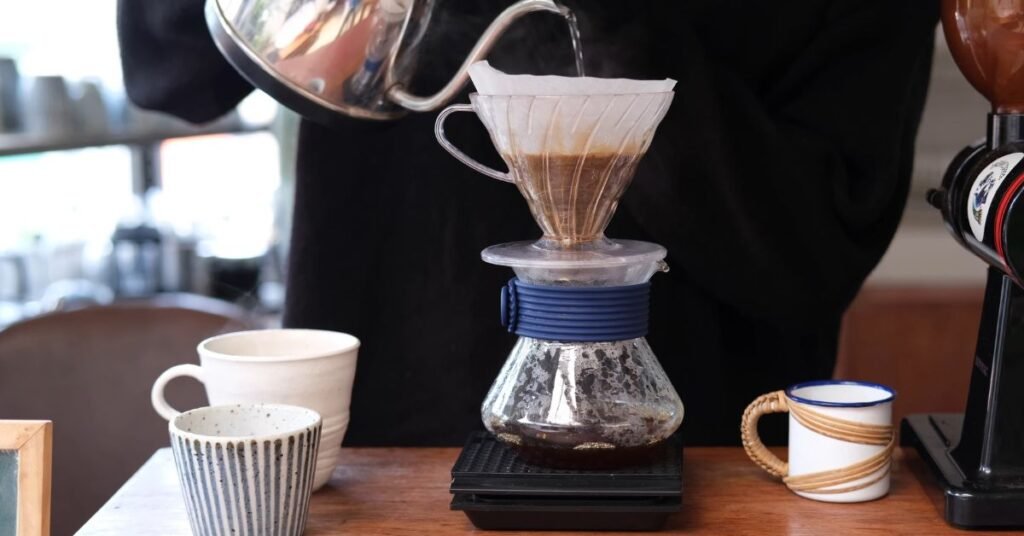
This is the central piece of equipment. There are several formats worth knowing about:
The Hario V60 is the most widely used pour-over cone in both professional and home settings. Its distinctive spiral ridges and large single opening give you significant control over extraction speed and flavour, which is part of why it is favoured by enthusiasts. It requires slightly more technique than some alternatives, but the learning curve is genuinely short. Available in ceramic, glass, plastic, and metal versions, with ceramic being the most recommended for home use due to heat retention.
The Chemex combines the filter and the carafe in a single elegant glass vessel. It uses a thicker, proprietary paper filter that removes almost all oils, producing one of the cleanest cups available from any brewing method. The Chemex is also considerably more visually striking than most pour-over equipment. If the aesthetics of your coffee station matter to you, the Chemex earns its place on the counter on that basis alone.
Ceramic dripper cones (from brands such as Fellow, Origami, or various artisan makers) offer similar results to the V60 with a slightly more forgiving brew process. Many people find them more approachable as a first pour-over tool.
As an Amazon Associate, Fox & Nook earns from qualifying purchases.
2. A Gooseneck Kettle
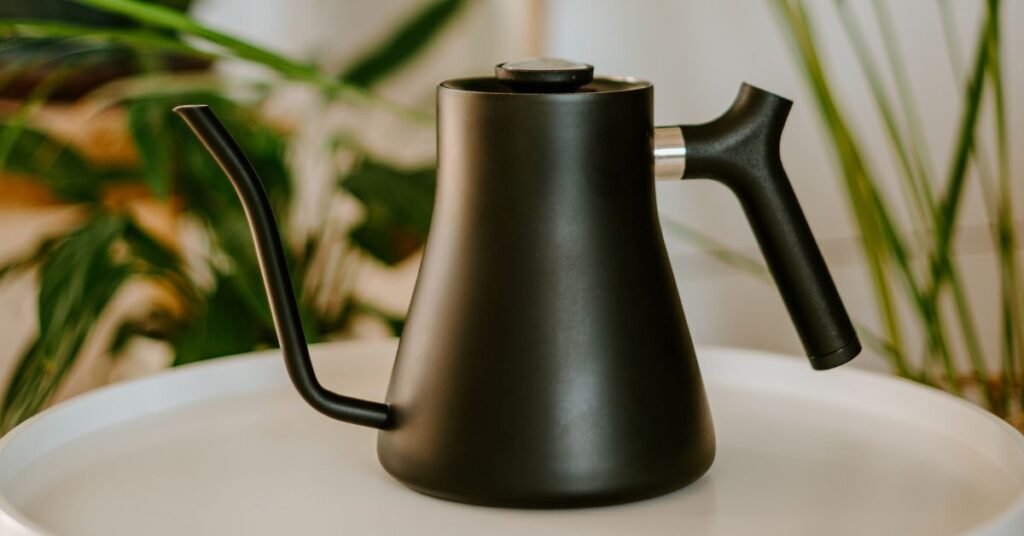
A gooseneck kettle is the one tool that separates a good pour-over from a great one.
The long, curved spout gives you precise control over where the water goes and how fast it flows two things that matter considerably in pour-over brewing.
A standard kettle pours too fast and too broadly to replicate this control. You can brew pour-over without a gooseneck kettle, but you will be working against yourself.
What to look for: Temperature control is the most valuable feature, either a built-in thermometer or, better, an electric kettle with adjustable temperature settings. Ideal pour-over water temperature sits between 90°C (194°F) and 96°C (204.8 °F), depending on the roast. Boiling water (100°C / 212°F) is slightly too hot and can scorch lighter roasts, which dulls their flavour.
What to avoid: Extremely cheap gooseneck kettles often have poorly designed spouts that do not actually deliver the control they promise. A mid-range model from a reputable kitchen brand will serve you significantly better than a budget alternative.
Our gooseneck top picks:
→ Govee Smart Electric Kettle, WiFi Variable Temperature Gooseneck Tea Kettle
→ Bodum 27oz Bistro Gooseneck Electric Water Kettle, Pour Over Coffee & Tea, Stainless Steel, Matte Black
As an Amazon Associate, Fox & Nook earns from qualifying purchases.
3. A Manual Burr Grinder
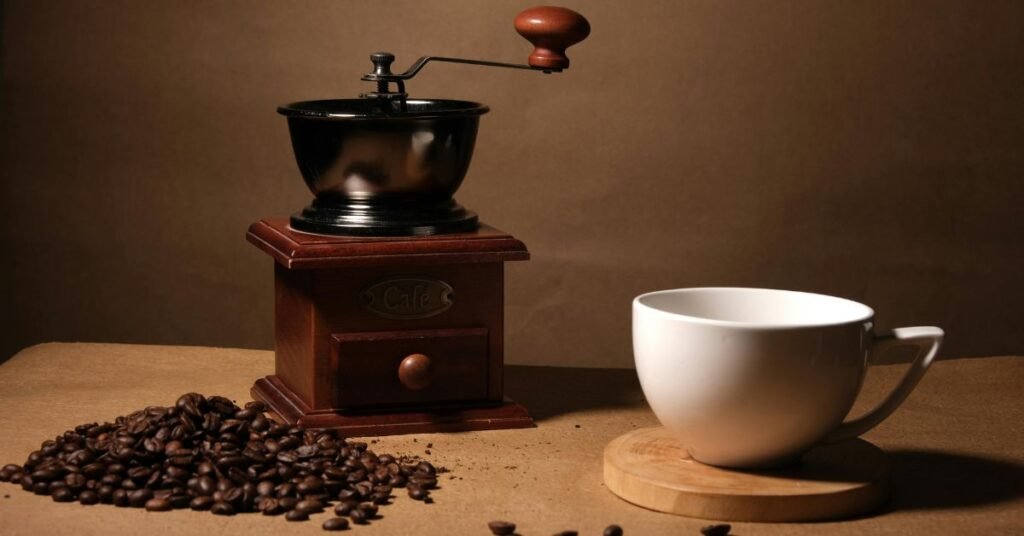
Coffee begins to lose flavour within minutes of being ground. This is not a coffee snob talking point; it is simply chemistry. Pre-ground coffee is more convenient, but it will never produce the same cup as freshly ground beans, regardless of how good the equipment around it is.
A manual burr grinder solves this without the noise, bulk, or expense of an electric grinder. Burr grinders (as opposed to blade grinders, which chop rather than grind) produce a consistent particle size, which is essential for even extraction and a balanced cup.
What to look for: Adjustable grind settings, a ceramic or steel burr set, and a capacity that matches your typical brew size. For a single cup, a smaller travel-style grinder works well. For two or more cups, a slightly larger model is more practical.
The honest caveat: Manual grinding takes two to three minutes of actual effort. For most people, this becomes a non-issue very quickly; it fits naturally into the pre-bloom waiting time and adds to the ritual rather than detracting from it. That said, if you are brewing for several people regularly, an electric burr grinder may be worth the additional investment.
Our Manual Coffee Grinder recommendation:
→ Manual Coffee Grinder with Adjustable Coarseness Ceramic Burr
As an Amazon Associate, Fox & Nook earns from qualifying purchases.
4. A Kitchen Scale with a Timer
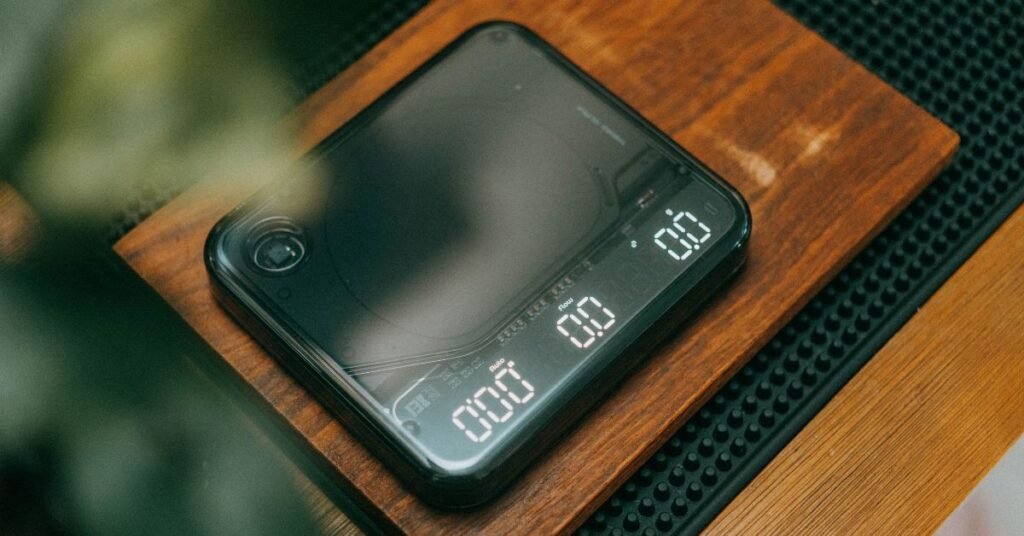
This one surprises people. Measuring coffee by scoop is imprecise: a heaped scoop and a level scoop contain meaningfully different amounts of coffee, and the difference shows up clearly in the cup. A small digital kitchen scale removes this variable entirely.
The standard pour-over ratio is approximately 1 gram of coffee to 15–17 grams of water, adjusted to taste. Once you find your preferred ratio, the scale makes every brew consistent and repeatable, which is the entire point of learning the method properly in the first place.
A built-in timer is useful for tracking bloom time and total brew time (ideally between three and four minutes for most pour-over methods), but a phone timer works just as well.
Good news on cost: A reliable digital kitchen scale suitable for coffee brewing costs between $20 and $30. This is one of the highest-impact, lowest-cost upgrades available in the home coffee space.
Our top pick for a coffee scale with timer:
→ Greater Goods Coffee Scale with Timer, 0.1g Precision for Espresso & Matcha
As an Amazon Associate, Fox & Nook earns from qualifying purchases.
5. Quality Coffee Beans and a Storage Canister
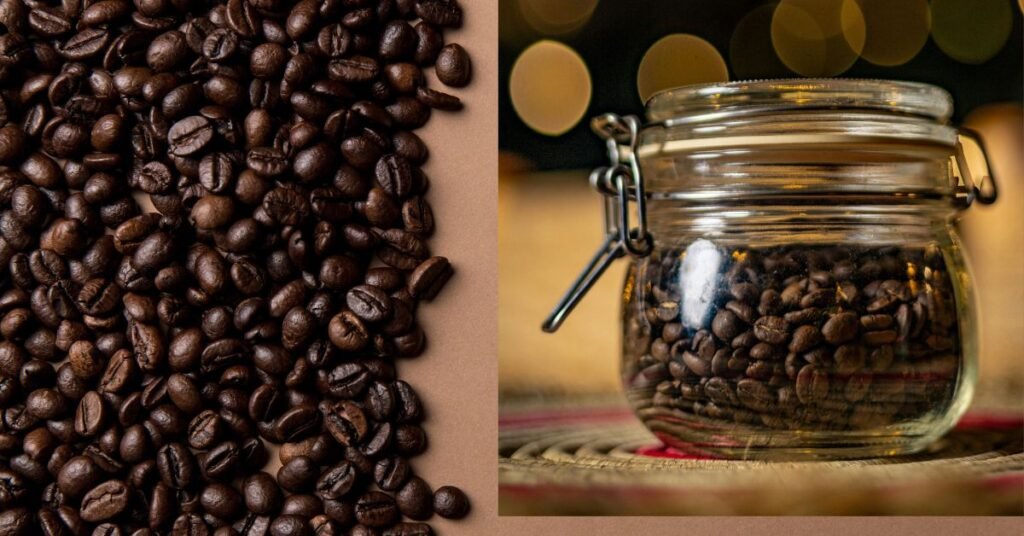
Equipment aside, the single largest determinant of cup quality is the coffee itself. This is worth stating clearly: a mediocre bag of pre-ground supermarket coffee run through a Chemex will not taste like specialty coffee. Fresh, whole beans from a reputable roaster will.
What to look for in beans: Roast date (not best-before date; look for a bag with a roast date within the past two to four weeks), single origin or clearly sourced blends, and a roast level that matches your taste preference. Light and medium roasts tend to show more nuance in pour-over; darker roasts produce a bolder, more traditional coffee flavour.
Storage matters more than most people realise. Coffee’s enemies are air, light, heat, and moisture. An airtight, opaque container stored away from the hob and direct sunlight will extend the freshness of your beans significantly. Vacuum-seal canisters with a one-way valve that lets CO2 escape without letting oxygen in are the most effective option.
Our top pick for a vacuum coffee canister:
→ KIVY Vacuum Coffee Canister – Push Lid Preserves Coffee Aroma & Oil
Check current price on Amazon
As an Amazon Associate, Fox & Nook earns from qualifying purchases.
A Step-by-Step Guide to Your First Pour-Over Coffee
Once your equipment is in place, the actual brewing process takes fewer than five minutes. Here is a straightforward walkthrough for a single cup using a V60 or similar cone dripper.
What you will need:
- 15g of freshly ground coffee (medium-fine grind, roughly sea salt texture)
- 250ml of water heated to 93°C /199°F (or left to sit off the boil for 30–45 seconds)
- Your pour-over cone and filter
- A cup or carafe below
Step 1: Rinse the filter.
Place the paper filter in the cone and pour a small amount of hot water through it into your cup or carafe below. This removes any paper taste from the filter and pre-heats your vessel. Discard the rinse water.
Step 2: Add your coffee.
Place your ground coffee in the filter. Give the cone a gentle shake to level the grounds. Place the whole setup on your scale and tare to zero.
Step 3: The bloom.
Pour approximately 30–40ml of water (roughly twice the weight of your coffee) slowly and evenly over the grounds, starting from the centre and moving outward in small circles. Watch the coffee swell and bubble. This is the bloom: carbon dioxide escaping from freshly roasted beans. Start your timer and wait 30–45 seconds.
Step 4: The main pour.
Pour the remaining water slowly in two or three stages, using gentle circular motions. Aim to keep the water level consistent without flooding the cone. Take your time — the full pour should take about two to three minutes.
Step 5: Draw down and serve.
Once you have added all the water, allow the coffee to finish dripping through the filter. Total brew time from the first pour should be three to four minutes. If it is significantly faster, your grind may be too coarse. If significantly slower, try grinding slightly finer.
Remove the cone, discard the filter and grounds, and pour your coffee immediately.
You can explore more on dialing in the perfect water-to-coffee ratio here.
Building a Simple Coffee Station at Home
One of the quieter pleasures of committing to a pour-over coffee practice is what it does to your kitchen counter.
The equipment is purposeful, the footprint is small, and the visual result a glass carafe, a ceramic cone, a slender gooseneck kettle has a natural, functional beauty that no capsule machine can really match.
A dedicated coffee station does not require a large surface area or a significant budget. It simply requires intention: choosing what belongs there and keeping everything else off it.
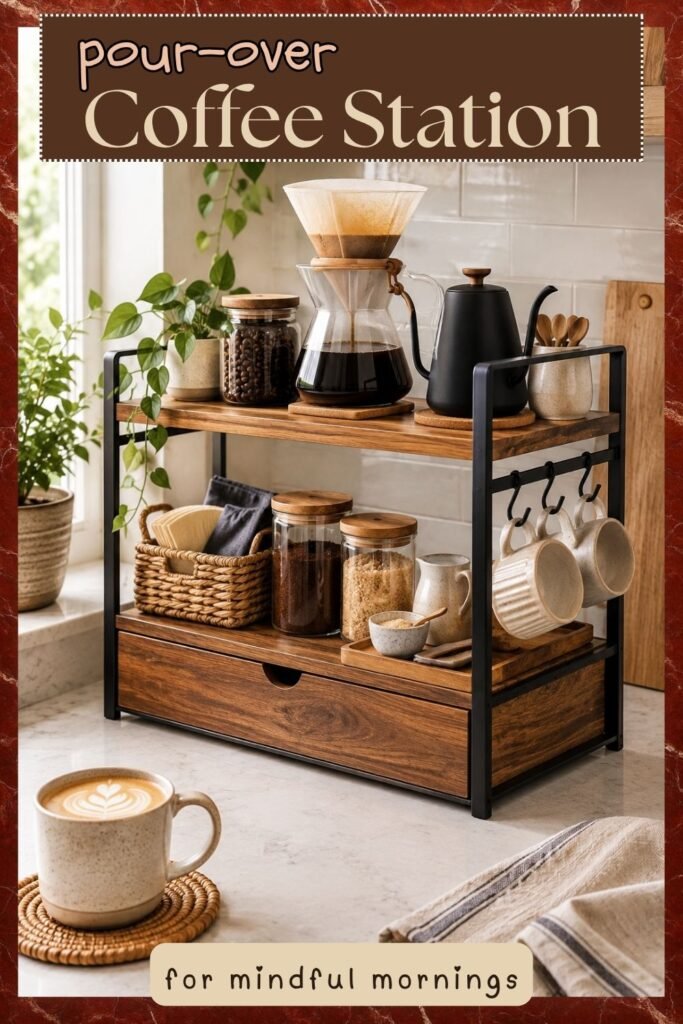
The essentials of a calm, slow-pour coffee station:
A tray or defined surface to contain the setup. This does the same work discussed in our kitchen tools post; it gives everything a home and makes the morning process feel deliberate rather than scattered.
Your pour-over cone or Chemex, positioned centrally. This is the anchor of the station visually and functionally.
Your gooseneck kettle, positioned to the side. If it is electric, a nearby socket keeps the setup uncluttered.
Your coffee canister, closed and clearly labelled. Open bags left on the counter expose your beans to air and undermine the quality of every cup they produce.
A small tray for your grinder, scale, and spare filters. Keeping these together means your setup is ready in under thirty seconds.
What to leave off the station: Everything that does not serve the morning coffee ritual specifically. A dedicated space loses its function when it becomes general storage.
Our top picks for a dedicated coffee station:
→ KLM Countertop Coffee Station Organizer, 2 Tier Wooden Shelf for Coffee Bar Accessories, Condiment Storage Caddy for Kitchen, Bathroom Counter Organizer, Home, Office – Brown
Check current price on Amazon
→ BDBDYEAY Coffee Bar Accessories, 2-Tier Coffee Bar Organizer with 4 Coffee Cup Holder Hooks, Multifunctional Wooden Beaded Coffee Station Countertop Stand Shelf for Kitchen
Check current price on Amazon
As an Amazon Associate, Fox & Nook earns from qualifying purchases.
The slow-pour coffee ritual is the point
It is worth stepping back from the equipment and the process for a moment to acknowledge what slow-pour coffee is really about because it is not, ultimately, about the coffee.
The act of making pour-over coffee by hand is one of the most accessible forms of mindful practice available in an ordinary morning. It requires your attention, but not your anxiety. It rewards patience, but does not punish imperfection. It gives you something concrete and sensory to focus on for five minutes before the day begins demanding things of you.
Many people who start pour-over with the intention of getting better coffee end up staying with it because of how it changes the texture of their morning. The coffee is excellent. The ritual of making it turns out to be what they actually needed.
This is entirely in keeping with the slow living approach we write about across Fox & Nook. The best tools, habits, and rituals are the ones that give something back beyond their stated purpose. Pour-over coffee gives you a great cup. It also gives you five minutes of quiet, purposeful presence at the start of the day. That combination is genuinely rare, and genuinely worth building into a routine.
We found this related article by Physiology Today rather interesting!
Slow-pour coffee: Our final thoughts
Slow-pour coffee at home is not a complicated pursuit. It is a handful of good tools, a short learning curve, and a willingness to slow down for a few minutes each morning.
The results in cup quality, in morning atmosphere, and in the quiet satisfaction of making something well are disproportionately good for the investment required.
Start with a V60 or a Chemex, a reliable gooseneck kettle, and the freshest beans you can source locally.
Everything else can follow gradually, in the same way all good rituals do: one deliberate addition at a time.
Your mornings are worth this! ☕❤️